Friday, March 30, 2012

Easy as can be

Today's post is not about baking. Nor is it about where I went to eat. I decided to shake things up and show you what I made for dinner. And because it is a Friday during Lent that means no meat. So, I bring to you my not so Asian dumplings. I call it that because the only Asian things about it are: the wrapper, and the fact that I made it. Tonight's dinner are ricotta & spinach dumplings. Ha, not Asian at all.

INGREDIENTS
  • Spinach
  • Ricotta cheese
  • Dumpling wrappers
Now here's the thing. I don't have measurements for anything! But it really is quite simple and it's all about personal judgement. I promise!
1. Cook spinach. Throw it in a pan with some salt and pepper over low heat. I didn't add any oil or butter because spinach has so much moisture. It will take a few minutes to cook down and once it does it will appear as if you lost all your spinach. 
2. Let the spinach cool down completely. Once it has cooled down, squeeze out all the liquid. Even though you didn't add anything to your spinach, it excretes a lot of water as it cooks.
3. Now that you have squeezed out as much water as possible, roughly chop the spinach into chunks. This just makes it easier to mix with the cheese and put into your dumpling wrappers.
4. Add the chopped spinach to a heaping amount of ricotta. How much ricotta should you add? That's entirely up to you. 
5. Put half a teaspoon of the mixture into your dumpling wrapper. 
6. Close your dumpling by wetting the edge with water and folding over the other half.
7. Throw in a few dumplings at time into a pot of boiling water.
8. The dumplings are done once they float. 

A pan full of spinach
A heaping scoop of ricotta cheese 
Ricotta cheese & chopped up spinach 
Mix until combined. Adding as much ricotta as you see fit. 
Put about a teaspoon of the mixture in the middle of your wrapper. 
All folded up & ready to be cooked. 
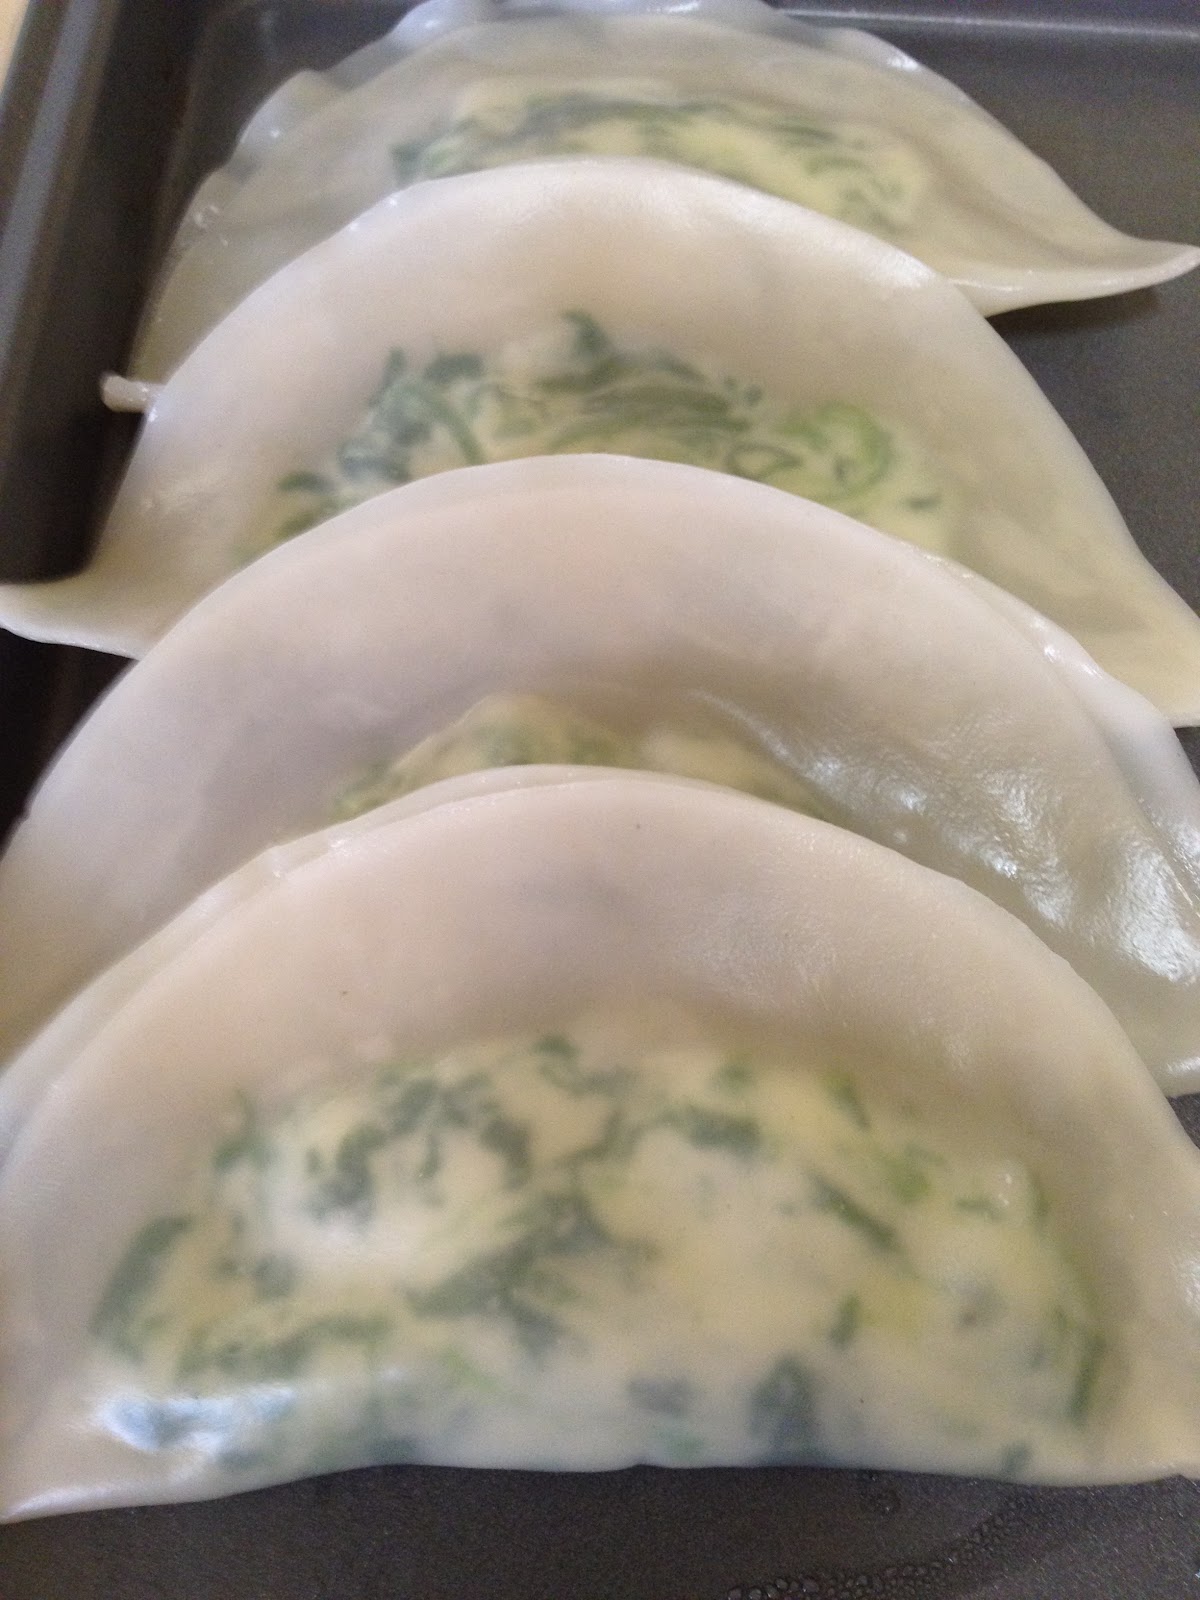
They cook in about 2-3 minutes. 
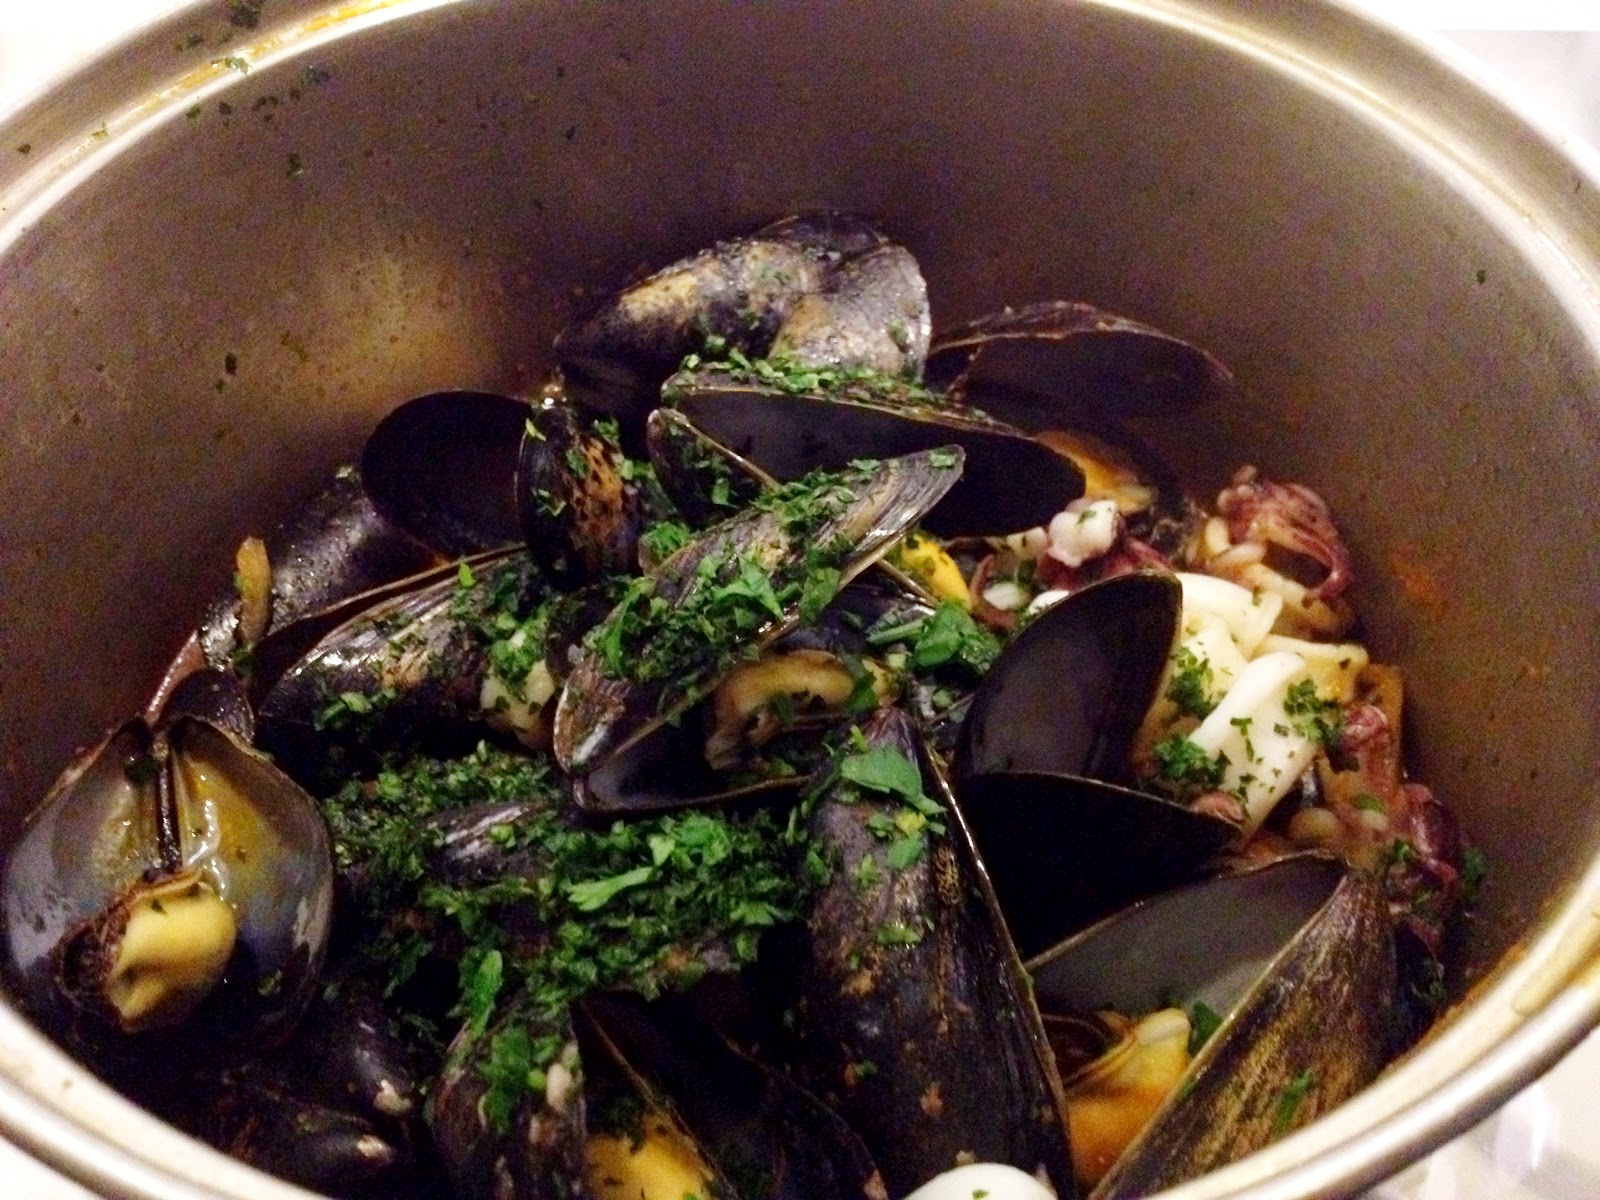
Drizzled some herb butter on top.

Quick & simple :)


Tuesday, March 27, 2012

You're next on my list

I don't really care for sticky buns or things of that sort but the one featured in Bon Appetit might be the exception. This picture has me mesmerized! 
Yup Mr. Stickybun, you're on my hit list!

Monday, March 26, 2012

Love means a full stomach

While most people consider Sunday a day of rest, I had to substitute mine for Saturday. That's what happens when a Sunday becomes a work day.
My day of rest was just that, until 6:30 rolled around and a 'late' dinner came into play. I usually deny such a thing if I have work the next day because I really enjoy my sleep. But when the words 'Buttermilk Channel' are spoken, I drop any sense of practicality, exchanging it for shoes and a bag and head out the door. Although I gave up some sleep time, it was definitely worth it. 

Since Buttermilk Channel is very dimly lit, I refrained from taking pictures. Don't you find the flash on the iPhone to be very bright? I thought the flash would be distracting to the people next to us. Lucky for me and the sake of this blog, my "dinner companion" (hi Kev! ... not like you read this) disagreed and took the pictures anyway. He had his own agenda. He's become an instagram snob. Thanks for the picture though!

slow roasted pork spare ribs : painted hills farm delmonico rib eye w/ bone marrow spread
buttermilk fried chicken w/ cheddar waffles : pecan pie sundae

Yumm.


Tuesday, March 20, 2012

Still no baking but lots of eating

Another week has gone by where I have not baked. I must get out of this baking slump quick.
In the mean time, I'll just have to fill you in on my latest food obsessions.

Lets start with Friday.
Since it is Lent, that means meatless Fridays. Which makes it a perfect day to hit up Flex Mussels. Finally! Seriously, it's been a long time coming. Thank you meatless Fridays for giving me a reason to go. (As if I needed an excuse). Yummy food. Just wasn't able to try the clam chowder since there was bacon in there, or the San Danielle mussels since that had prosciutto. Darn, I do love prosciutto. As for the donuts, not too bad. My faves would be raspberry, pb&j, and the chocolate hazelnut! Mmmm what a delish dinner.
 [tuna tartare]
 [clam chowder]
 [italiano: calamari, roasted garlic, red wine, tomato sauce] 
[san danielle: prosciutto, caramelized onions, white wine, garlic]
 
[truffle fries] 
 [donuts: raspberry, salted caramel, cinnamon sugar, pb&j, (2) chocolate hazelnut]

Now onto Tuesday...
Had linner at Roberta's in Brooklyn. Oh and if you're wondering if that was a typo, well it was not. Linner is similar to brunch, but is the afternoon meal instead of lunch and dinner. So maybe it should be called lunner? Anyway... my afternoon meal was at Roberta's. Which was then followed by dessert at Brooklyn Farmacy.
Both delicious and unique places, that I would consider my favorites. What a great way to welcome spring :) Great food & lovely weather.
Roberta's
[cheese plate] 
[the beastmaster: tomato, mozz, gorgonzola, pork sausage, onion, capers, jalapenos 
& the bee sting: tomato, mozz, sopressata, chili, honey ]

Brooklyn Farmacy


 [strawberry rhubarb pie & vanilla ice cream]
[vanilla & coffee milkshake -&- a slice of apple pie]

Brooklyn Farmacy is a restored pharmacy that serves dessert in an old-fashioned setting.
Decorated with original fixtures, this place is absolutely adorable.
Traditional soda shops meets modern day culinary twists <3 


Happy Eating

Monday, March 12, 2012

Surprise!

If you've visited my blog before, you may have noticed that the current site description is different from the one I had originally posted. That's because I had to get rid of that lengthy statement that said I was an unemployed 23year old nurse. 

Why did I have to delete that?

I'm glad you asked! It's because I now have a job! YAY!
I am now a full time nurse and today was my first day of orientation. Exciting news, huh?

Where does this leave my baking? Well, I've already been slacking so that's not so good. But, once I get a better grasp on this 'I'm an adult now. I have a job.' thing, I can start baking again. Until then, I need to get used to this transition.

Wish me luck!

Sunday, March 11, 2012

The happiest hour of them all

My baking drought continues. Hopefully that changes sometime soon, after all I have to test out a recipe I plan on using for Easter. For those of you that I will be spending Easter with, here's my hint: it involves fruit.

But until that day, I will just have to update you on other things.

On Friday, I went to Mermaid Oyster Bar during happy hour. Best decision ever. This entry isn't devoted to the cheap drinks but it's all about the cheap food. The main reason I was drawn to this place was the $1 oysters. I could easily down a dozen. I did. I loved every second of it! =) Overall, their happy hour menu is pretty awesome. I enjoyed every bite of the mini fish tacos and lobster sliders. Yumm! Now let me prove how much I liked it there:

Half devoured
[about 5mins later there wasn't a single crumb left]

I got so distracted being in  food heaven that I forgot to take a picture when our first serving came out. Then remembering halfway through our second serving, I decided any picture is better than no picture. Okay, there is no evidence of fish tacos, except for that empty plate at the top (middle) of the picture. What can I say, but when there's food in front of my face everything else is practically forgotten. 


To top things off they give you free chocolate pudding and a fish fortune teller thingamajig. I consider this a fun evening. Even if the fortune said I was a fickle person. Whatever. I left a happy camper.
Now, when do I get to go again?

Thursday, March 8, 2012

Feed Me

Hi People,

I can say that now since more than two people have tuned into my blog. Thanks for stopping by.

For those of you that read my first ever entry, you know that this blog isn't solely about baking. Along with recipes, I also wanted to share random things with you. One of those things being places I like to go to eat.
Lucky for me Google Offers had two amazing deals! Yay! One is to Clinton Street Baking Company and the other is to Bao Noodles. I love both places! I'm excited just thinking about it.

Now I'm hungry. Thank you Google Offers for making me a happy camper.

Tuesday, March 6, 2012

Final Round

Now that I have filled you in on my cake pops and my peanut buttery PB&C Bars it is time to conclude my baking recap.

The last recipe I had told you about in my 'Welcome Back' post had been the Raspberry Thumbprint Cookies. These thumbprints are the same as the Valentine's Day themed cookies I told you about, but with a twist.

  • Create the shortbread dough. If you need a refresher, click the link 'above.'
    [For other recipes, click the underlined for links]
  • Mix everything together. Refrigerate. Take out 1 hour later.
  • Here is the twist I told you about. Instead of spending all that time rolling out the dough, you're just going to form them into little balls.
    • Take about a tablespoon and a half of dough and roll into a ball.
    • Place it on a lined baking sheet.
    • Put your thumb in the middle of the ball and gently press down. You want to create a little indent, you do NOT want to push through & touch the pan.
    • Take half a teaspoon of raspberry jam and place in the little indent you had created. Do not go overboard with the jam or else it will ooze down the sides of your cookie (it'll look less cute and more murdered cookie). And yes, you will bake the cookie with the jam.
    • Bake at 350degrees Fahrenheit for approx. 10 minutes or until the bottom edges of the cookie are a golden brown. 
    • While you are waiting for the cookies to cool, melt some chocolate. I used milk chocolate. Let the chocolate cool for several minutes. Then drizzle it over the cookies.
  

And that's it! Not too bad, right?


I am finally up to date on my baking adventures! Hopefully, I'll get to bring you a new recipe soon. 
Enjoy!

Let's continue recapping

Now that I have apologized for my absence and filled you in on my cake pop [click for link] adventure, let's continue.

In my last post, I had mentioned that I made PB & C Bars. That would be peanut butter and chocolate chip bars. I love peanut butter! I could eat peanut butter straight from the jar and as a matter of fact I had a heaping teaspoon of it just yesterday. So, these PB&C bars are perfect for those peanut butter lovers out there. Which is why I made them for my wifey's birthday. Oh to clear things up, wifey isn't actually my spouse. We never had a civil service declaring our love, there is no document proving to the world we are married. I almost forgot to mention we're both straight and dating other people. Other than those minor details, we've been friends for 10 years (maybe a little less, kind of thought she was a biotch when I first met her haha). Wifey, if you happen to be reading this ... Hi and Happy Birthday (again).

Back to baking ...
These bars are quick, simple, and just plain yummy.

INGREDIENTS
5 Tablespoons unsalted butter (room temperature)
2/3 cup chunky peanut butter
1/4 cup creamy peanut butter
3/4 cup granulated sugar
1/4 cup brown sugar
2 eggs
1 tsp vanilla
1 cup all purpose flour (sifted)
1/4 teaspoon salt
1 tsp baking powder
1/4 cup semi sweet chocolate chips
1/4 cup milk chocolate chips
  • Line a 9x9in pan with parchment paper. Preheat oven to 350degrees Fahrenheit.
  • In a separate bowl, sift together flour, salt, and baking powder. Set aside.
  • Cream butter and both peanut butters. Once blended together, beat in both sugars until combined and mixture is smooth.
  • Add the eggs one at a time. Then the vanilla.
  • Slowly incorporate dry ingredients, adding it in thirds. Scrape the sides and bottom of the bowl to ensure the dry ingredients are mixed in before adding more of the flour mix.
  • After batter is completely mixed together, stir in the chocolate chips.
  • Pour batter into the pan and bake for 25-30 minutes or until the middle has just set. (When in doubt, toothpick test!)
  • Let it cool. Cut it into slices. Eat
Chewy. Gooey. And just a bit crunchy. YUM!


Welcome Back

Hi there! I know I've been missing for quite some time. Let me get you up to speed ...

That bake-off I entered in. Remember? The one from Valentine's Day? Yeah that one. Well, I lost. Sad-face I know. Prizes went to individuals that came in first and second place. I, however came in third. Darn! So close!

Next order of business...

My nonstop baking kind of came to a complete halt. I haven't baked in about two weeks. That's a long time. Just ask the people that benefit from my experiments. They've had to find snacks elsewhere. I apologize. The last  lap of my baking marathon consisted of: cake pops, PB & C bars (yes, C), and raspberry thumbprint cookies.

Since I have 3 recipes to share with you, I will break them up and post them as separate entries. That's just way too many things to post all together.

Let's recap with recipe #1

Chocolate Cake Pops
I baked one batch of chocolate cake. Then through magic transformed them into this ...
Okay, they didn't magically turn into cake disguised as a lollipop. It was a lot of time ... and giggling. You read that right, I said giggling. 
WHAT YOU WILL NEED:
1 batch of cake 
8 oz cream cheese (room temperature)
Lollipop sticks
2-3 bags milk chocolate candy melts
1 bag pink chocolate candy melts
  • Begin by baking one batch of cake. Chocolate, vanilla, red velvet ... from a box, made from scratch, whatever your heart desires.
  • Let the cake cool completely.
  • In a large bowl, break apart the cake. Some say to do this in a food processor. I think doing this step by hand works perfectly fine. You want to break it down into fine crumbs. You can use a fork to make sure it has broken down and that there aren't big chunks hiding in the mix.
  • Next, add the cream cheese. I prefer to add the cream cheese in segments, making sure it is completely mixed in before adding more (you shouldn't see any chunks of cc). This step can also be done by hand. [Now this is where the giggling comes into play. Adding soft cream cheese to cake crumbs just feels funny. It's quite squishy, so I giggled the whole time. Yup, I have the mind of a 5 year old.]  You know you have added enough cc, when you are able to form a ball that holds shape. Now you may use some of the cc or you may use the whole 8oz, it all depends on the consistency of the cake.
  • Once you have reached the right consistency, you want to refrigerate the mixture until it is firm.
  • Now that you've waited, you can begin shaping your cake pops. Don't make them too big or they'll be too heavy for the stick.
  • Place your cake balls on a baking sheet and refrigerate. It is important that they remain firm especially when you're about the dip them.
  • In the mean time, melt the chocolate candy melts (over a double boiler or in the microwave)
  • When your chocolate is ready, you're ready to dip your cake pops.
  • Dip part of your lollipop stick into the chocolate then take that end and gently push it into your cake pop. This step helps your cake pop stick. 
  • Once the stick is in place, dip your pop into the chocolate has covered it. 
  • Now how do you store these cake pops? Well there are several ways to do this. You can line a baking sheet with wax paper and place your cake pops upside down (stick up in the air) until the chocolate hardens. Or you can buy a block of foam and stick your cake pops in there (like seen in my picture). That's up to you. 
  • Do not put the chocolate dipped cake pops in the fridge to harden. The chocolate will do that on it's own in room temperature.
  • In my lazy attempt to decorate these cake pops, I melted pink chocolate candy melts and drizzled it over the already hardened milk chocolate candy shell. 
It's simple to do in spite of my lengthy list of instructions. Just keep in mind that this is not quick to conjure up. It involves a lot of time. Waiting for the cake to cool, waiting for the cake to firm up, waiting for the chocolate to harden. Yup just lots of waiting. So set aside an afternoon and you'll be good to go.